Using a burgandy scotchbrite pad, I scuffed all of the ribs on both sides of the rib flange. The ribs were final cleaned with acetone as well as the rivet lines in the skin.
I set out to install all the ribs according to Rick Galati's method where the nose of all the ribs are put in place first, then the proseal is added to the rest of the ribs and then it's clecoed 100%. After having too much of an issue with the first rib, I did it in the craddle. Each rib was buttered on both sides of the flange and then inserted into position.
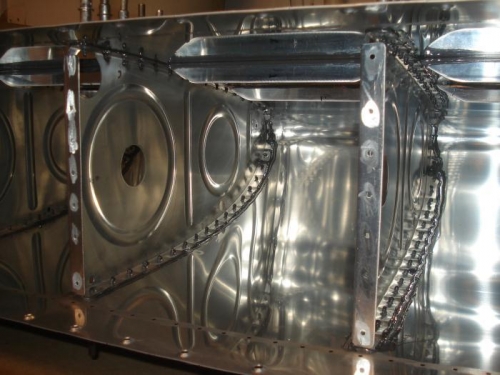
One in position, I clecoed every rivet hole and then filleted the edges of the flange. Continued the process, making 3 different batches of proseal along the way until all 5 ribs were 100% clecoed in place.
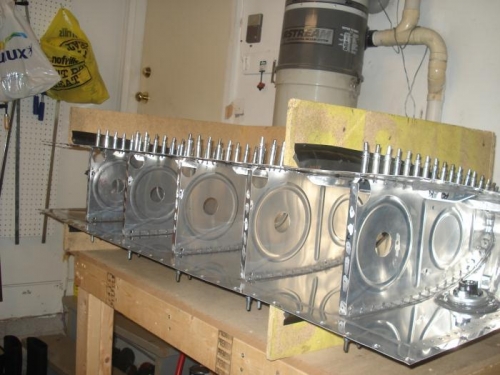
I will let it sit for a least two days to let the proseal setup so it won't be as messy riveting the ribs. When I did the right fuel tank, I only did a couple of ribs at a time...much easier doing all at once.
Ribs sealed and 100% clecoed.
After the ribs are riveted, th eentire flange will be coated with proseal.